
What Are the Cooking Oil Conversions for Cups, Tablespoons, Milliliters, and Ounces?
Staring at a recipe and doubting your oil measurement can throw off your whole cooking groove. I use oils every day in my home apothecary, and I know that having reliable conversions at your fingertips removes the stress and guesswork.
Here are the precise volume equivalents I rely on, straight from my own kitchen notes.
- How many tablespoons are in a cup of oil
- Converting milliliters to fluid ounces seamlessly
- Practical tips for measuring different oils without a mess
| Cups (US) | Tablespoons (Tbsp) | Milliliters (mL) | Fluid Ounces (fl oz) |
|---|---|---|---|
| 1/4 cup | 4 Tbsp | 60 mL | 2 fl oz |
| 1/3 cup | 5 Tbsp + 1 tsp | 80 mL | 2.7 fl oz |
| 1/2 cup | 8 Tbsp | 120 mL | 4 fl oz |
| 2/3 cup | 10 Tbsp + 2 tsp | 160 mL | 5.3 fl oz |
| 3/4 cup | 12 Tbsp | 180 mL | 6 fl oz |
| 1 cup | 16 Tbsp | 240 mL | 8 fl oz |
This table works for any liquid cooking oil, from light olive to toasted sesame. Remember, we are measuring volume here, not weight, which is why it applies universally. A ‘cup’ in this context is the US standard measure of 240 mL. For larger batches, it helps to know that 1 quart equals 4 of those cups, or about 946 mL.
Why Getting the Measure Right Matters in Your Kitchen
Think of oil as the conductor of your culinary orchestra. The right amount harmonizes everything. The wrong amount can throw off the whole piece.
In baking, precision is non-negotiable. Too much oil can make a cake greasy and dense. Too little can leave it dry and crumbly. For baked goods, I treat my measuring cups like scientific instruments, leveling them off with the back of a knife for accuracy. My favorite lemon olive oil cake recipe fails without this careful balance.
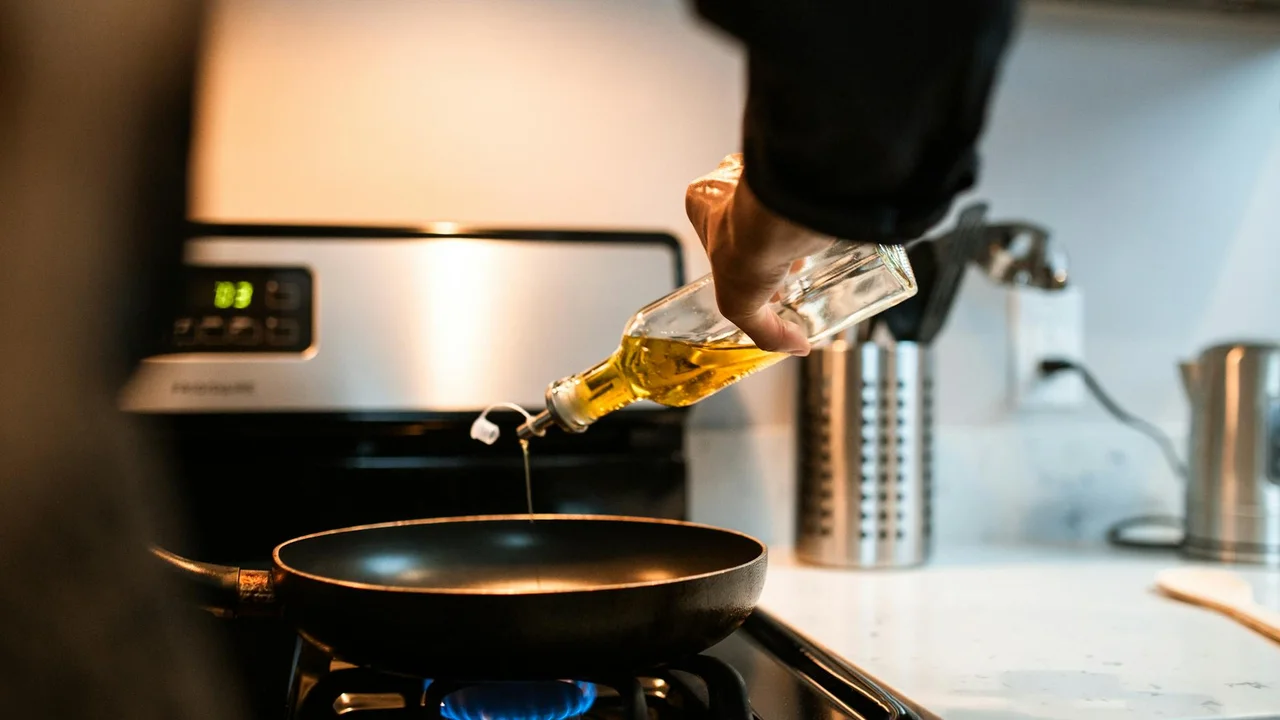
For sautéing or dressing a pan, you have more freedom. I often just swirl a glug of avocado oil to coat the bottom. But even here, knowing a ‘glug’ is roughly a tablespoon helps me manage nutrition and flavor. Using a measured tablespoon for everyday cooking is a simple wellness habit that prevents over-pouring and keeps fat intake balanced.
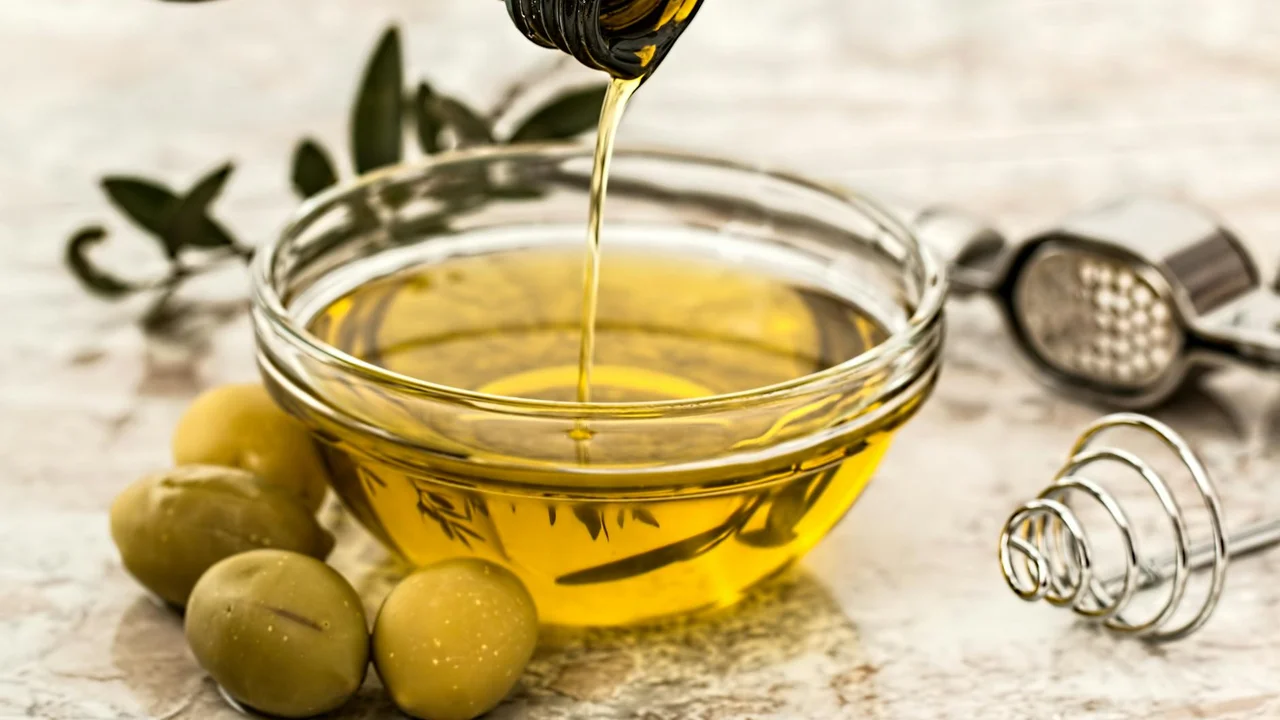
This knowledge is also wonderfully practical. When a recipe calls for a quarter cup and you only have a milliliter jug, you won’t hesitate. You’ll use what you have efficiently, reducing waste. That beautiful bottle of unfiltered extra virgin olive oil deserves to be used thoughtfully, right down to the last golden drop.
From Cups to Grams: Measuring Oil by Weight
You asked for specific numbers, so let’s get right to it. The weight of oil can vary slightly, but for common cooking oils like vegetable, olive, or coconut oil, you can rely on these measurements.
For most recipes, 1/2 cup of vegetable oil weighs about 110 grams, and 1/3 cup weighs roughly 73 grams.
I keep a small notebook in my kitchen with these figures jotted down, right next to my notes on infusion ratios. It saves me from guessing.
Why Grams Beat Volume Every Time
Measuring cups and spoons are great for simplicity, but they are not perfect. Think about how you scoop flour-you can pack it down lightly or heavily, changing the amount in your cup.
Oil is less variable, but not all oils are the same. A cup of thick, rich castor oil weighs more than a cup of light, runny grapeseed oil.
Using a scale removes the guesswork because 100 grams of any oil is always 100 grams, regardless of its thickness or how you poured it. This precision is what makes the difference between a good bake and a great one, where chemistry matters.
Your Kitchen Scale: A Tool for Precision
If you don’t own a simple digital kitchen scale, I gently encourage you to get one. It costs less than a nice bottle of olive oil and will last for years.
Using one is simple. Place your mixing bowl on the scale, press ‘tare’ to reset it to zero, then pour your oil directly until you hit the gram weight your recipe needs. No more messy cups to wash.
This is the exact same principle I use when making a skin serum, weighing my jojoba carrier oil before adding precious essential oils. On my apothecary shelf, accuracy is safety and consistency. The same thoughtful care applies in your kitchen.
It might feel like a small shift, but weighing your ingredients builds confidence. You know exactly what went into your creation, from a moist cake to a soothing body oil.
Decoding Quarts, Liters, and Real-World Usage
Let’s clear up the quart to liter question right away. One quart of oil is equivalent to 0.946 liters, which for practical purposes, I simply think of as “just a tiny bit less than a full liter.” I see this measurement most often with carrier oils like jojoba or sweet almond that I buy in larger quantities for my home apothecary.
Knowing this conversion helps me read labels accurately, whether I’m following a European skincare recipe or assessing the value of a bulk purchase for my homemade cleaners.
How Long Will a Quart of Oil Last You?
There’s no single answer, as it dances entirely on how you weave oil into your daily life. The lifespan of a quart depends entirely on your personal habits and which oil you’ve chosen. Think about your own rhythm in the kitchen and beyond.
- Your Cooking Frequency: A household that fries foods or makes fresh salad dressings daily will use oil much faster than one that cooks occasionally.
- The Oil’s Purpose and Viscosity: A light, runny oil like safflower for sautéing gets poured more freely than a rich, buttery coconut oil you might scoop by the spoonful for a curry or a hair mask.
- Beyond the Kitchen: If you also use that oil for body care, its journey changes. A quart of olive oil for just cooking is one thing; that same quart used for cooking, making herbal salves, and oil cleansing your face will disappear more quickly.
Glimpses From My Own Shelf
I find real-world examples are the most helpful guide. Here’s what usage looks like in my home.
A quart of extra virgin olive oil typically lasts my household about a month. We use it for nightly vegetable sautéing, homemade vinaigrettes, and the occasional drizzle on finished dishes. Its peppery, green aroma is a constant in my kitchen, but it’s important to know how long olive oil lasts to ensure freshness.
In contrast, a quart of fractionated coconut oil might grace my shelf for three months or more. I use it primarily for making massage oil blends and as a base for rollerball recipes, so a little goes a long way when properly diluted. Its silky, non-greasy texture is perfect for this.
For a task like deep-frying, a quart of a high-heat oil like avocado or peanut could be used in just a few cooking sessions. Always consider the oil’s smoke point and intended use before buying a large quart size for a single purpose. Storing oil properly in a cool, dark place is key to making any size last and keeping its flavor and nutrients vibrant.
Common Mistakes and How to Avoid Them
Getting measurements right is the secret to successful blends, whether for your skin, hair, or home. I’ve learned this from years at my own apothecary bench.
-
Using liquid cups for dry ingredients or vice versa. This mix-up can ruin a batch of sugar scrub or powdered clay mask. Always use a clear liquid measuring cup with a spout for oils and any wet ingredients. You need to see the liquid’s curve, called the meniscus, at eye level for true accuracy.
I have a dedicated glass liquid cup on my shelf. For dry things like oatmeal in a bath soak, I reach for a separate nested dry cup set.
-
Confusing weight (ounces) with fluid volume (fluid ounces). Recipes for serums or cleaning sprays often list fluid ounces. Remember, fluid ounces measure space, like a bottle of jojoba oil, while weight ounces measure heft, like a bag of dried lavender.
It’s like comparing a cup of light grapeseed oil to a cup of thick castor oil. They fill the same space but feel very different in your hand. My old recipe cards always specify “fl oz” for liquids to avoid guesswork.
-
Pouring directly from a large bottle. Tipping a big bottle of coconut oil into a mixer is a recipe for waste. Measure your oil into a small cup or bowl first to prevent over-pouring. This is especially vital with pricey or potent oils like rosehip or tea tree. That same care applies to coconut oil in cooking and baking, where exact measures affect texture and flavor. For coconut oil recipes and techniques, starting with a measured cup keeps outcomes consistent.
My routine is simple. I pour the needed amount of, say, argan oil for a hair treatment into a little ramekin first. This control keeps my dilutions safe and my workspace tidy.
How to Convert Any Recipe Step-by-Step
Switching between cups and milliliters doesn’t have to be stressful. I use this simple checklist in my own kitchen and apothecary.
-
Identify the unit you have and the unit you need.
Look at your recipe first, then look at your measuring tools. This sounds obvious, but it’s the step I see most folks rush. Is your recipe in cups, but your best jug shows milliliters? Take a breath and note both.
-
Use the snapshot table as your guide.
Keep the chart below bookmarked or printed. It’s my constant reference when I’m formulating a new hair oil blend or scaling up a batch of herbal salve. For body care recipes, consistent measurements are the foundation of a safe, effective product.
-
For metric precision, remember 1 tablespoon = ~15 mL.
This is my golden rule. A standard kitchen tablespoon is the bridge between volume systems. When a recipe calls for 30 mL of a precious jojoba or rosehip seed oil, I know that’s exactly two level tablespoons. This precision matters most for essential oil dilutions in skincare.
| Cups | Tablespoons (Tbsp) | Milliliters (mL) | Fluid Ounces (fl oz) |
| 1/4 cup | 4 Tbsp | 60 mL | 2 fl oz |
| 1/3 cup | 5 Tbsp + 1 tsp | 80 mL | 2.7 fl oz |
| 1/2 cup | 8 Tbsp | 120 mL | 4 fl oz |
| 1 cup | 16 Tbsp | 240 mL | 8 fl oz |
I keep a dedicated set of measuring spoons and cups just for my oil projects. It prevents any cross-contamination of scents and ensures my skincare math is always correct.
Beyond the Kitchen: Oil Measurements for Home & Wellness
Those same cups and milliliters from your recipes are your best tools for creating things that make your home feel good. When I mix a fresh citrus cleaning spray or a calming linen mist, my measuring cups and spoons are right there with my essential oil bottles.
You can easily scale a favorite recipe using the same conversions you trust in cooking. For instance, a simple room spray often starts with one cup of water. Knowing that’s 240 mL or 16 tablespoons lets you adjust the recipe up or down perfectly for your spray bottle.
Mixing for Body & Skin: The Art of Dilution
This is where careful measurement becomes truly important for safety and comfort. Pure essential oils are potent, and we almost always blend them into a gentle carrier oil like jojoba or sweet almond before they touch our skin. Knowing how to mix essential oils with carrier oils correctly is crucial for safe and effective body treatments.
I measure my carrier oils in tablespoons and teaspoons because it’s a practical, relatable scale for personal use. A typical 1% dilution for daily face oil is about 6 drops of essential oil per one tablespoon (15 mL) of carrier oil. For a stronger massage blend, I might use a 2.5% dilution, which is roughly 15 drops in that same tablespoon. It’s important to know the right dilution ratios for different uses to ensure safety and effectiveness.
Here is a simple guide I keep on my apothecary shelf:
| Dilution Percentage | Essential Oil Drops per 1 Tbsp (15 mL) Carrier | Best For |
| 0.5% | ~3 drops | Very sensitive skin, facial care, long-term daily use. |
| 1% | ~6 drops | General body care, daily moisturizers. |
| 2% | ~12 drops | Targeted massage oils, acute muscle tension. |
Always patch test a new blend on a small area of skin. If you have sensitive skin, start with the lowest dilution and see how your body responds.
A Quick Note on “Mils”: Volume vs. Thickness
Sometimes in DIY projects for wood or finishes, you might see a thickness referred to in “mils.” This is a shorthand for millimeters, a tiny unit of length.
A “mil” for thickness is not the same as a “mL” (milliliter) for volume. Think of it like this: mL tells you how much liquid is in the bottle. A mil (mm) tells you how thick a coat of that liquid would be if you brushed it on. It’s an important distinction so you grab the right tool for your project.
Choosing Your Oil: Does the Type Change the Measure?
Let’s settle this first. A cup of olive oil is a cup of coconut oil is a cup of sunflower oil.
Volume is volume, and the measuring cup doesn’t know the difference between one plant oil and another. The space the liquid takes up is what matters for your recipe, not its source.
What does change is how it feels and moves.
Viscosity is just a fancy word for thickness. Picture the difference between warm honey and water. Both can fill a tablespoon, but one pours slowly and coats the spoon heavily.
This thickness affects how it pours from your measuring cup, not the final amount you get. A thicker oil might leave a slightly heavier film behind, but that’s a sensory difference, not a volumetric one.
From my own shelf, I see this every day.
A rich, unfiltered extra virgin olive oil clings to the glass. It pours in a slow, luxurious stream. A bottle of light grapeseed or sweet almond oil feels almost watery in comparison-it zips right out.
For something truly dense like castor oil, I often warm the bottle in my hands first. It makes pouring to the exact line much easier.
Here’s my practical tip for confidence.
When measuring a viscous oil, pour slowly to the line and let it settle for a moment. If you’re using a liquid measuring cup, bend down to check the meniscus-the curve at the liquid’s surface-at eye level.
Your eye is the best tool for ensuring accuracy, not the speed of the pour. Trust the line on your tool, not the feeling in your hand.
Storing Your Oils: Keeping Them Fresh After Opening
That quart of oil will last much longer if you treat it right. Proper storage is the single biggest factor in extending the shelf life of any botanical oil. Think of it as creating a cozy, stable home for your oils, away from the things that make them age quickly.
Find the Right Spot
Heat, light, and oxygen are the three enemies of fresh oil. I keep my most-used bottles in a dark kitchen cabinet, far from the oven and any sunny windows. A cool, dark cupboard or pantry is the perfect place for your daily cooking oils. The counter next to the stove is convenient, but the constant warmth will cause the oil to degrade and turn rancid faster.
For precious oils I use on my skin or hair, like rosehip or argan, I’m even more careful. These often live in the fridge door. The cold keeps them incredibly fresh, though it may make some oils look cloudy or solid. That’s normal. Just hold the bottle in your hands for a minute to warm it up before use.
Know When It’s Time to Say Goodbye
Oils don’t last forever, even with perfect storage. Your senses are the best tools to check for spoilage. First, give it a sniff. Fresh olive oil should smell grassy or fruity. A nut oil should smell, well, nutty. If you catch a whiff of something stale, waxy, or like old crayons, the oil has likely turned.
Look at it, too. While some natural cloudiness is fine (especially if it’s been chilled), a consistently murky appearance in a liquid oil at room temperature can be a warning sign. Finally, if you’re unsure, taste a tiny bit. Rancid oil has a distinctly sour or bitter taste that lingers unpleasantly. When in doubt, throw it out. It’s better for your wellness-and your recipe-to start fresh.
Your Questions, Answered
Does the thickness of an oil change how much fits in a measuring cup?
No, volume is volume. A cup of thick castor oil occupies the same space as a cup of light grapeseed oil. The difference is in the pour-thicker oils simply move more slowly, so measure patiently to the exact line.
I make small batches of body oil. What’s the most reliable conversion to remember?
For personal care blends, remember that one tablespoon equals 15 milliliters. This is my golden rule for safely diluting essential oils into carrier oils, ensuring both effectiveness and skin safety in every batch. If you work with drops, knowing how many drops equal a milliliter helps keep batches consistent. A complete volume drop conversion guide can simplify those calculations.
I’ve seen “mil” in DIY guides. Is that the same as a “mL” for oil?
They are different! A milliliter (mL) measures volume, like how much oil is in a bottle. A “mil” is a shorthand for a millimeter (mm), which measures thickness, like how thick a coat of finish is. Always check the context.
If I substitute one oil for another in a recipe, do I change the measurement?
Never change the volume measurement when substituting oils. A half cup of avocado oil directly replaces a half cup of olive oil. The recipe’s chemistry relies on that volume, even though the flavor and nutrients you bring to the table will beautifully shift.Even when swapping for other types of oils, consistency in measurement is key.
What’s your best tip for measuring oil without waste?
Always measure over a bowl or your mixing vessel. If you pour a little too much, you can simply return the excess to the bottle. This mindful habit respects both your ingredients and your budget.
Your Well-Measured Oil Journey
The single best thing you can do for your botanical oils is to treat them with a little more care than your everyday cooking oil. Using a simple kitchen scale for weight, especially with precious infusions, saves your oils and your budget from messy guesswork. This is particularly important when making herbal-infused oils at home.
I encourage you to use these conversions as a confident starting point for your own kitchen and self-care creations. Trust your senses as you blend, and know that this careful attention is how you honor the oils working for your body, skin, hair, and home.
Deep Dive: Further Reading
- Oil Converter – The Calculator Site
- The conversion of used cooking oils into biodiesel | Biofuels International Magazine
- Oil to Butter Conversion
- Oil-to-Butter Conversion: Guide to Butter Substitutes – Instacart
- r/skoolies on Reddit: Has anyone with a diesel engine converted to Waste Vegetable Oil for primary source of fuel?
Noemi Kamińska
Noemi is an accomplished wellness researcher, nutrition care guide and body care expert. She has years of experience in formulating various oil combinations for full body wellness including face, hair, body care, essential oils and cooking oils. She works as a bio-formulator working with oil chemistry and analyzing the best formulations when it comes to your needs. Feel free to reach out to get your oil needs sorted.