
How Can Essential Oils Transform Your DIY Beauty Routine?
If your bathroom shelf is crowded with products that promise miracles but don’t deliver, I understand. Blending essential oils into your own serums, masks, and hair treatments can bring real, noticeable change to your skin and hair.
This article walks you through simple, effective recipes using oils from my own apothecary.
- Custom facial serums for your skin type
- Soothing and purifying face masks
- Revitalizing hair treatments for scalp and strands
First Things First: Safety and Smart Dilution
Pure essential oils are incredibly potent plant extracts. Applying them directly to your skin is a surefire way to cause irritation, redness, or a nasty reaction.
I keep my pure oils on the high shelf and always mix them with a gentle carrier oil first. A carrier oil is a fatty vegetable oil that safely “carries” the essential oil onto your skin while diluting its intensity.
My favorite carriers are jojoba (light and similar to our skin’s sebum), sweet almond (versatile and slightly nutty), and argan (rich and nourishing).
The golden rule for daily face and body use is a 1% to 2% dilution. This means adding 3 to 6 drops of essential oil to every ounce (about 30 mL) of your chosen carrier oil or unscented lotion. For facial care, frankincense essential oil is a popular option to explore within that dilution range. When applying it to the face, start with the 1%–2% dilution and patch-test first.
Some oils, like bergamot and certain other citruses, are phototoxic. They can cause dark spots or burns if you go into the sun after using them. Always check this before mixing.
I do a patch test with every new blend. Dab a little on your inner forearm, wait 24 hours, and see if your skin is happy.
People often ask if specific brands, like Radha Beauty, are safe for skin. The real question is about the oil’s purity, not just the brand name. Look for brands that provide clear Latin names, country of origin, and, ideally, a GC/MS report to prove what’s in the bottle. A reputable, trusted supplier is your best bet.
How Do I Choose the Right Oil for My Skin and Hair?
Forget memorizing a long list. Start with what you want to address. Here is my quick-reference guide, organized by concern.
For Oily or Acne-Prone Skin
These oils help calm flare-ups and balance oil production.
- Tea Tree: That clean, medicinal scent tells you it’s a powerful cleanser. It’s my go-to for tackling individual blemishes.
- Lavender: It smells like a calm garden. Lavender soothes redness and helps skin heal while gently regulating oil.
- Frankincense: This is a deeper, woody aroma. It has a tightening, clarifying effect that I find perfect for oily, congested complexions.
For Dry or Mature Skin
Think comfort, nourishment, and support.
- Rose Absolute: The queen of oils. Its deep, floral warmth is profoundly hydrating and comforting for parched skin.
- Sandalwood: This scent is creamy and velvety. Sandalwood helps soothe dry irritation and supports skin that’s losing its spring.
- Chamomile (Roman or German): Like a cup of herbal tea for your face. It’s incredibly gentle, reducing dryness-related redness and discomfort.
For Dull or Uneven Skin
These are the brighteners and glow-getters.
- Carrot Seed: It smells earthy and rooty. This oil is famous for encouraging a more even, radiant tone.
- Neroli: A bright, citrus-floral scent that feels uplifting. Neroli is excellent for rejuvenating tired, lackluster skin.
For Scalp and Hair Health
Focus on the scalp to transform your hair.
- Rosemary: Crisp and herbaceous. I use this one constantly to support a healthy scalp environment and encourage fuller-looking hair.
- Cedarwood: Woodsy and grounding. It’s wonderful for balancing a dry or flaky scalp.
- Peppermint: That instant, cool tingle. Peppermint wakes up the scalp and provides a deeply cleansing sensation.
What Does a Simple, Effective DIY Serum Look Like?
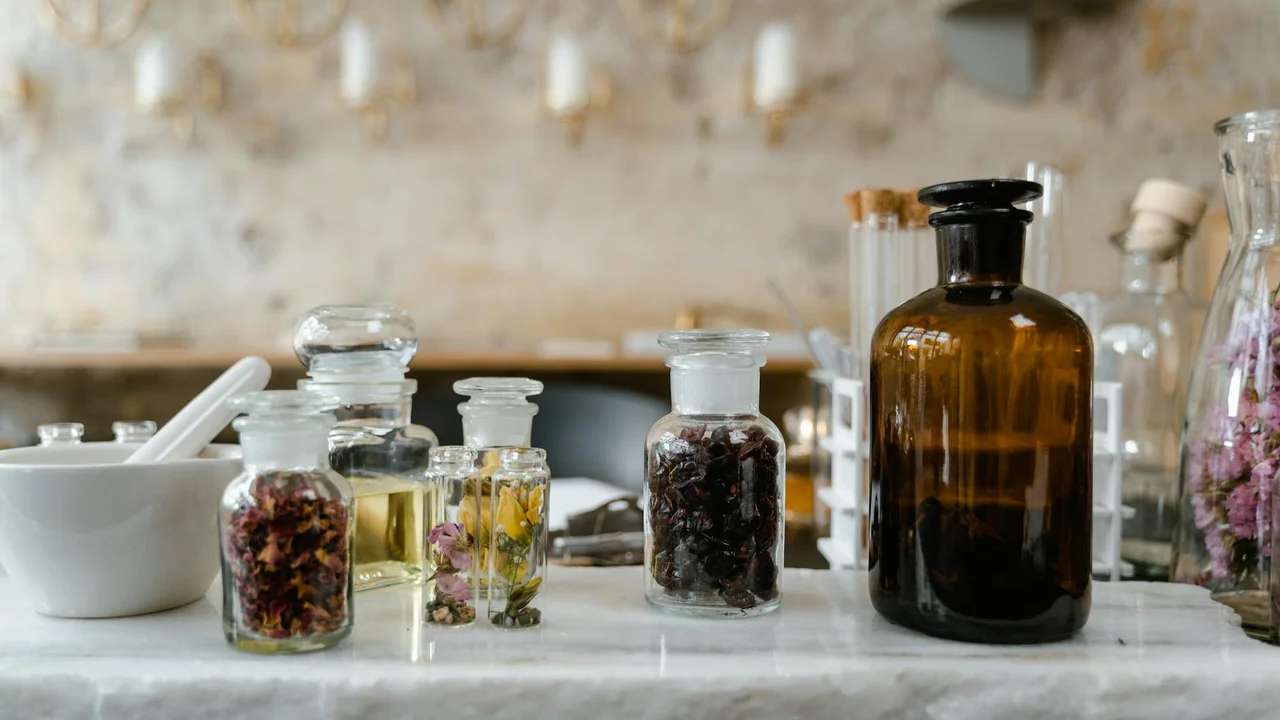
My favorite serums always begin with a quiet, simple formula. It keeps things safe and manageable.
The universal base I use is one ounce (about two tablespoons) of a good carrier oil mixed with four to six total drops of essential oil. This ratio gives you a gentle, effective concentration perfect for daily facial use.
If you ever wonder, “How much essential oil do I mix with carrier oil?”, remember that one-ounce bottle. Four to six drops total is your answer. I keep several little amber glass bottles ready on my shelf for this very purpose, especially when using carrier oils for skin.
My Evening Glow Serum
This is my personal nighttime ritual. Rosehip seed oil feels thin and sinks in quickly. It has a faint, earthy scent.
- 1 ounce Rosehip Seed Oil
- 3 drops Frankincense essential oil
- 3 drops Lavender essential oil
Frankincense has a warm, woody aroma that feels deeply calming. Lavender softens it. Together, they support skin that’s seen a long day.
A Clarifying Serum for Morning
For days when my skin feels uneven or reactive, I turn to this blend. Jojoba oil is brilliant because it mimics our skin’s own sebum.
- 1 ounce Jojoba Oil
- 3 drops Tea Tree essential oil
- 2 drops Geranium essential oil
Tea tree is clean and clarifying. Geranium, with its rosy sweetness, helps balance everything out. It’s a fresh, uplifting scent to start the day.
Apply your serum to slightly damp skin right after cleansing. Pour a few drops into your palms, warm it, and gently press it onto your face and neck. Pressing helps absorption better than rubbing. Always store your creations in a cool, dark place in an amber or cobalt blue glass bottle to protect the delicate oils.
Can I Make Pampering Masks and Hair Treatments at Home?
You absolutely can. Some of the best bases are already in your kitchen. Think of clays, honey, yogurt, and even oatmeal as your canvas. They are gentle, effective, and pair beautifully with a single drop of an essential oil.
A Soothing Oatmeal Mask
This is my first aid for irritated or sensitive skin. It feels cool and comforting.
- 1 tablespoon plain yogurt
- 1 teaspoon raw honey
- 1 drop Lavender essential oil
Mix the yogurt and honey first. The honey is naturally sticky and antibacterial. The yogurt provides gentle lactic acid. Then, stir in that one drop of lavender. Spread a thin layer on clean skin, relax for ten minutes, then rinse with cool water.
A Clarifying Clay Mask
Green or bentonite clay pulls out impurities. It can feel quite tightening.
- 1 tablespoon green clay
- Enough water or apple cider vinegar to make a paste
- 1 drop Tea Tree essential oil
Mix the clay with your liquid in a glass or ceramic bowl. Metal can interfere with the clay. Stir in the tea tree oil last. Apply, let it dry partially (not until it cracks), and rinse. Your skin will feel incredibly clean.
A Pre-Shampoo Scalp Treatment
This is a simple treatment I do about once a week. Some readers wonder how often you should oil the scalp and what the best frequency is. It addresses a common question: how do essential oils work for hair?
Oils like rosemary and pepperment are thought to stimulate blood flow to the scalp, which can support healthy hair follicles, while also helping to balance oil production. This ties into the science of sebum balance and how natural oils can influence scalp production. It also signals a broader look at hair oils and scalp health.
My routine is straightforward.
- Warm a tablespoon of coconut oil in your hands until it melts.
- Add 2 drops of Rosemary and 1 drop of Peppermint essential oil. Mix them right in your palm.
- Part your dry hair and massage this mixture directly onto your scalp with your fingertips for a few minutes.
- Let it sit for 20-30 minutes, then shampoo and condition as normal.
The minty tingle is invigorating. My scalp feels refreshed, and my hair seems to have a little extra shine afterwards.
How Can I Blend Oils for Mood and Home Care?
True beauty feels calm and centered. Your oil routine can help with that.
I often blend oils for the air, not just my skin. The key is knowing the difference.
Topical vs. Aromatic: A Quick Guide
Topical blends go on your body. They must be diluted in a carrier oil like jojoba.
Aromatic blends are for smelling, diffusing into the air, or spritzing on linens, and they don’t need a carrier oil for those uses.
Think of it this way: topical is for direct care, aromatic is for atmosphere.
A “Beauty Sleep” Pillow Mist
This lives on my nightstand. The vodka isn’t for drinking. It helps the oils and water mix and keeps the spray fresh.
- Grab a 2-ounce glass spray bottle.
- Fill it almost to the top with distilled water.
- Add one teaspoon of vodka (or witch hazel).
- Add 5 drops of lavender and 3 drops of cedarwood essential oils.
- Cap it, shake well before each use, and mist lightly over your pillow and sheets.
The scent is grounding and soft, like a quiet forest at dusk.
An “Uplifting Diffuser” Blend for Morning
This is my get-ready ritual. It wakes up the senses without being harsh.
Add 3 drops of sweet orange and 1 drop of peppermint to your water-based diffuser.
The bright citrus lifts your mood, while the crisp mint adds a clarifying sparkle to the air.
Pre-Made Blends vs. Making Your Own
You might see ready-made blends, like ones for “beauty sleep” from brands such as AIROME.
These are fantastic for convenience. I have a few on my shelf for busy days.
Making your own, though, lets you control the strength and adjust scents to your personal preference. It’s often more affordable, too.
Start with a pre-made blend to learn what notes you like, then try recreating it yourself.
What Are Common Mistakes and How Do I Avoid Them?
We all make mistakes when we start. Here’s how to sidestep the common ones.
Mistake 1: The “More is Better” Mindset
It’s easy to think ten drops will work ten times faster. It won’t.
Using too many drops of essential oil is a direct path to skin irritation or headaches.
Stick to recommended dilutions. For facial serums, that’s often just 1-2 drops total per teaspoon of carrier oil.
Mistake 2: Skipping the Carrier Oil on Delicate Skin
Never apply “neat” (undiluted) essential oils, especially on thin, sensitive areas like under your eyes.
This can cause sensitization, where your skin reacts more and more over time.
Always dilute. For the eye area, use a gentle carrier like fractionated coconut oil.
Mistake 3: Trusting All “Natural” Labels Equally
The word “natural” isn’t regulated. Some brands are impeccable, others may cut corners.
Reputable companies provide GC/MS (Gas Chromatography/Mass Spectrometry) reports that verify the oil’s purity and chemistry. These reports are crucial testing methods used by professionals, but there are also ways to test essential oil purity and authenticity at home or in a lab.
Look for this information on their website. If a price seems too good to be true, or a brand has many reviews questioning purity (like some discussions around Radha Beauty oils), it’s a red flag. Trust brands that are transparent.
Mistake 4: Poor Storage Habits
Sunlight and heat are the enemies of your oils.
Storing oils in clear bottles on a sunny windowsill will make them degrade rapidly, losing their therapeutic benefits.
Keep them in dark amber or cobalt glass bottles in a cool, dark place. My oils live in a wooden box away from the stove.
Your Essential Oil Beauty Starter Checklist
Let’s make your first bottle. I suggest we begin with a simple, nourishing face serum for dry skin. It’s a forgiving recipe that feels like a luxury.
1. Pick Your Goal
We’re targeting dry skin. A single, clear goal keeps your first blend focused and effective. Starting with one purpose builds confidence before you try complex multi-tasking blends.
2. Choose Your Carrier Oil
I recommend sweet almond oil for this. It’s light, absorbs well without greasiness, and is a classic for soothing thirsty skin. I always have a bottle on my shelf. Think of the carrier oil as the nourishing base that dilutes and delivers the essential oils safely. Choosing the right carrier oil is especially important for sensitive skin.
3. Choose 1-2 Essential Oils
For dry skin, sandalwood is my top pick. It’s deeply moisturizing and has a warm, woody scent that feels grounding. A single drop of rose absolute adds a floral lift and is kind to sensitive skin. For a first-time blend, two oils are plenty to create a beautiful, synergistic effect.
4. Get a 1 oz Amber Glass Bottle
Dark glass protects your precious oils from light, which can break them down. The dropper gives you control. I save and wash bottles from old purchases-it’s a sustainable habit.
5. Measure, Add, and Mix
Fill your 1 oz bottle almost to the top with sweet almond oil. Add 3 drops of sandalwood essential oil and 2 drops of rose absolute. Cap the bottle tightly and roll it gently between your palms to mix. Rolling, not shaking, prevents adding air bubbles which can oxidize the oils faster.
6. The Essential Patch Test
Before you use it anywhere near your face, apply a dab to the inside of your forearm. Wait 24 hours. This non-negotiable step checks for any redness or irritation and gives you peace of mind. I still do this with every new blend I make.
7. Apply After Your Next Shower
Warm, damp skin absorbs oils beautifully. After your shower, pat your face lightly so it’s still moist. Press 3-4 drops of your serum into your skin. Take a breath and enjoy the aroma you created. If you’re using a shower oil, apply it while the skin is still damp to lock in moisture. We’ll cover the best ways to use shower oil for skin hydration in the next step.
8. Label Your Bottle
Write the date and your simple recipe on a label. Trust me, you will forget what’s inside in a few weeks. A good label is a record of your success and a safety practice for everyone in your home. I use a little piece of masking tape and a permanent marker.
Your Questions, Plant-Based Answers
Are Radha Beauty oils safe to use on my skin?
Any brand’s safety hinges on its oil purity and transparency. Look for clear botanical names and GC/MS test reports to ensure you’re getting a genuine, skin-safe product.
How do I use a pre-made blend like AIROME Beauty Sleep?
Follow the brand’s instructions carefully, typically for diffusion or diluted topical use. You can also draw inspiration from its scent profile to create a similar, personalized blend.
Can I tweak DIY beauty recipes to fit my needs?
Absolutely! The base recipe (like a clay mask or serum) is your canvas. Feel confident swapping in essential oils that target your specific concerns, keeping the total drop count the same.
Are essential oils safe for very sensitive skin?
Yes, with extra care. Always use a low dilution (1% or less) and prioritize gentle oils like chamomile or lavender after a successful patch test.
Your Botanical Beauty Journey
Always dilute your essential oils in a gentle carrier oil; this simple practice is the foundation of safe, effective care for your skin and hair. If you’re wondering about proper dilution ratios for hair and skin, and how to mix essential oils with carrier oils, those practical guidelines will be covered in the next steps. Listen closely to how your body reacts to each blend-that feedback is your most valuable tool.
I share insights from my own shelf here on Botanical Oils to support your experiments with body, skin, and home wellness. Trust the advice you find here, and trust yourself as you mix oils that feel uniquely right for you—especially when you understand their properties and uses.
Citations and Authoritative Sources
- 5 DIY Essential Oil Skincare Recipes for Natural Beauty – Pure Fiji US Store
- DIY Cosmetics With Natural Oils – La Tourangelle
- Beginner’s Guide to Making DIY Essential Oil Blends and Skincare Products
- 6 DIY Essential Oil Skincare Recipes for Natural Beauty
Noemi Kamińska
Noemi is an accomplished wellness researcher, nutrition care guide and body care expert. She has years of experience in formulating various oil combinations for full body wellness including face, hair, body care, essential oils and cooking oils. She works as a bio-formulator working with oil chemistry and analyzing the best formulations when it comes to your needs. Feel free to reach out to get your oil needs sorted.