
How Do You Clean Oil Stains from Wood Tables, Floors, and Furniture?
I’ve sighed at oily rings left by forgotten massage bottles on my oak table. That stain doesn’t have to be permanent, and you likely have the perfect solution already at home.
I’ll show you my proven, gentle methods that prioritize the health of your wood. This article covers:
- Immediate steps for a fresh spill
- My favorite pastes and solvents for set-in stains
- How to clean without damaging the finish
- Knowing when a stain needs professional care
Key Takeaways: Your Stain Removal Cheat Sheet
Start with an assessment. Blot first, then figure out the oil type and surface finish.
Your first move is always a gentle blot with a clean, dry cloth or paper towel.
Press down firmly to soak up as much of the surface oil as you can before it sinks in deeper. Rubbing is the enemy here, as it grinds the oil into the wood grain and spreads the stain. It’s a different challenge compared to removing oil stains from concrete, where scrubbing is often necessary.
Next, take a breath and look closely. Is this a light cooking oil from last night’s dinner, or a thicker body oil with essential oils mixed in? The type of oil changes your cleaning strategy.
Finally, feel the wood around the stain. A glossy, sealed tabletop (a finished surface) is very different from a rustic, unfinished wood shelf or a cutting board you treat with mineral oil.
Match the method to the mess. Fresh kitchen oil and a dried-on aromatherapy blend need different approaches.
A fresh spill of olive oil on a sealed floor hasn’t had time to penetrate. A simple paste of baking soda and water can often lift it right up.
Dried-on blends, especially those with dark essential oils like patchouli or vetiver, are a tougher puzzle. These oils are potent and can stain just like a natural dye.
For these, I reach for a gentler solvent from my own cleaning shelf: dish soap and warm water for greasy kitchen oils, or a diluted vinegar solution for older, sticky residues.
| Oil Type | Recommended First Remedy |
|---|---|
| Fresh Cooking Oil (olive, vegetable) | Baking soda paste or dish soap & warm water |
| Body or Massage Oil | Dish soap & warm water |
| Dried Essential Oil Blend | Diluted white vinegar solution |
| Very Old, Set-In Stain | May require a poultice (like cornstarch & vinegar) |
Always, always spot test in a hidden area. Your wood’s finish is unique.
No two pieces of wood are finished exactly the same way. The varnish on your grandma’s table has a different personality than the factory finish on a new bookshelf.
Apply a dab of your chosen cleaning paste or solution to an inconspicuous spot, like the underside of a table or the back of a leg. Wait 15-20 minutes, then wipe it clean and let it dry completely.
Check for any changes in color, cloudiness, or texture. This five-minute step can save you from a much bigger repair job.
Removing the stain is only half the job. Gentle cleaning and a little nourishment restore the wood’s beauty.
Once the stain is gone, you might see a dull patch or a slight residue from your cleaning agent.
I mix a drop of pure castile soap in a bowl of warm water and gently wipe the entire area. This removes any leftover cleaning solution and evens everything out.
For raw or oil-finished wood, follow up with a tiny bit of a food-safe oil, like a teaspoon of jojoba or fractionated coconut oil, rubbed in with the grain. This reconditions the spot and blends it with the surrounding wood.
Some stains, especially from dark oils that have soaked in deep, may only fade, not disappear completely.
Be realistic and kind to yourself. If a dark oil like clove or cedarwood sat on raw wood for weeks, it may have penetrated deeply.
Your goal shifts from complete removal to significant fading and blending. Several gentle treatments over a few days are better than one harsh scrub that damages the wood.
A faint shadow is not a failure; it’s a mark of a home that’s lived in and loved, often with beautiful, natural products. Often, a light conditioning with beeswax polish can help blend the area seamlessly.
Your Step-by-Step Stain Removal Checklist
1. Blot up any excess oil immediately with a clean, dry cloth. Don’t rub.
Think of this as first aid for your wood. Use a lint-free cloth or a stack of paper towels.
Press straight down and hold. Swap for a fresh section of cloth as it soaks up the oil. Your mission is to absorb, not spread.
2. Identify the oil (cooking, body oil, essential oil blend) and the wood surface (finished, raw, oiled).
Smell it carefully. Is it neutral like vegetable oil, sweet like almond body oil, or herbaceous like a rosemary blend?
Run your finger just next to the stain. A hard, slick feel usually means a polyurethane or lacquer finish. A more porous, matte feel could be raw, waxed, or oil-finished wood.
3. Choose your cleaning remedy based on the oil type and do a spot test.
Refer to the table above as your guide. For most fresh, greasy oils, my go-to is a few drops of blue dawn dish soap in warm water (whether cleaning it before reuse or just washing for disposal).
Never skip the spot test. It is your single most important safety step. Find a hidden spot, apply your remedy, wait, and inspect.
4. Apply your chosen paste or solution gently, following grain direction.
If using a baking soda paste, apply a thick layer just over the stain. For a liquid solution, dampen a soft cloth (microfiber is great) and wring it out well.
Wipe or gently scrub in the direction of the wood grain. This follows the natural pattern of the wood and prevents you from scratching across it.
5. Wipe clean with a damp cloth and dry thoroughly.
Use a clean cloth dampened with plain water to wipe away all the cleaning mixture. You don’t want any soap or paste residue left behind.
Immediately dry the area with another clean, dry cloth. Water left sitting on wood can cause clouding or swelling.
6. Repeat if necessary, allowing the wood to dry completely between attempts.
Stains often lighten with each application. If you see improvement, you’re on the right track.
Let the wood dry fully for an hour or so before applying another round. This gives you a true picture of what’s left and prevents over-wetting the wood.
7. Once the stain is lifted, clean the whole area with a mild wood soap and condition the wood if needed.
Now, treat the whole surface, not just the spot. A mild castile soap solution cleans everything evenly.
For dry-looking spots or oil-finished surfaces, a dab of nourishing oil on a cloth can restore luster. On my own oak table, I use a beeswax and carnauba wax blend for this final protective shine.
First Things First: Assess & Blot

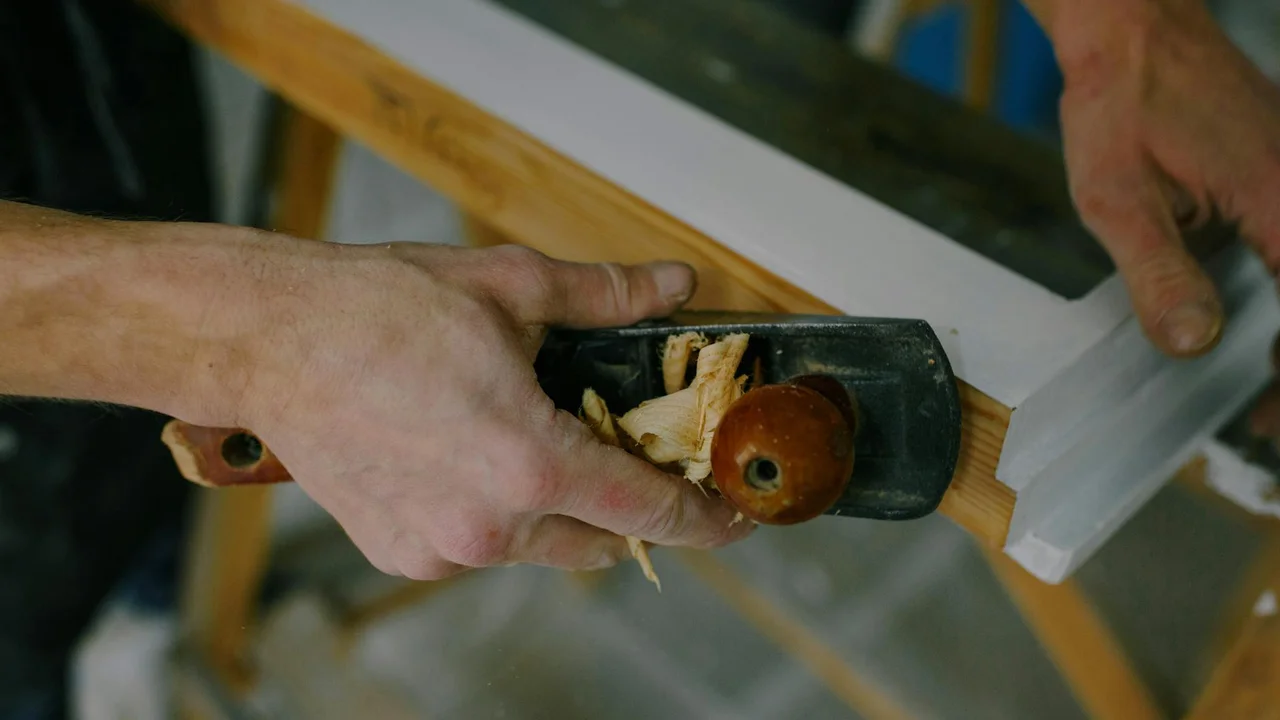
Before you reach for a cleaner, take a deep breath and look closely at the spill. Rushing can spread the oil. A careful assessment points you to the right fix. Especially when cleaning oil-based lubricants from tools, it’s important to use the proper methods.
Is the Oil Wet or Dry?
A fresh spill is a race against the clock. Your first move is always to blot, not wipe. Use a clean, absorbent cloth or paper towel and press down firmly to soak up all you can.
Wiping will only smear the oil and push it deeper into the wood grain. A dried stain asks for patience. These marks often show up as a darker, greasy-looking ring on the surface. The oil has oxidized and settled in, so you will need a different plan to lift it out.
What Kind of Oil Made the Stain?
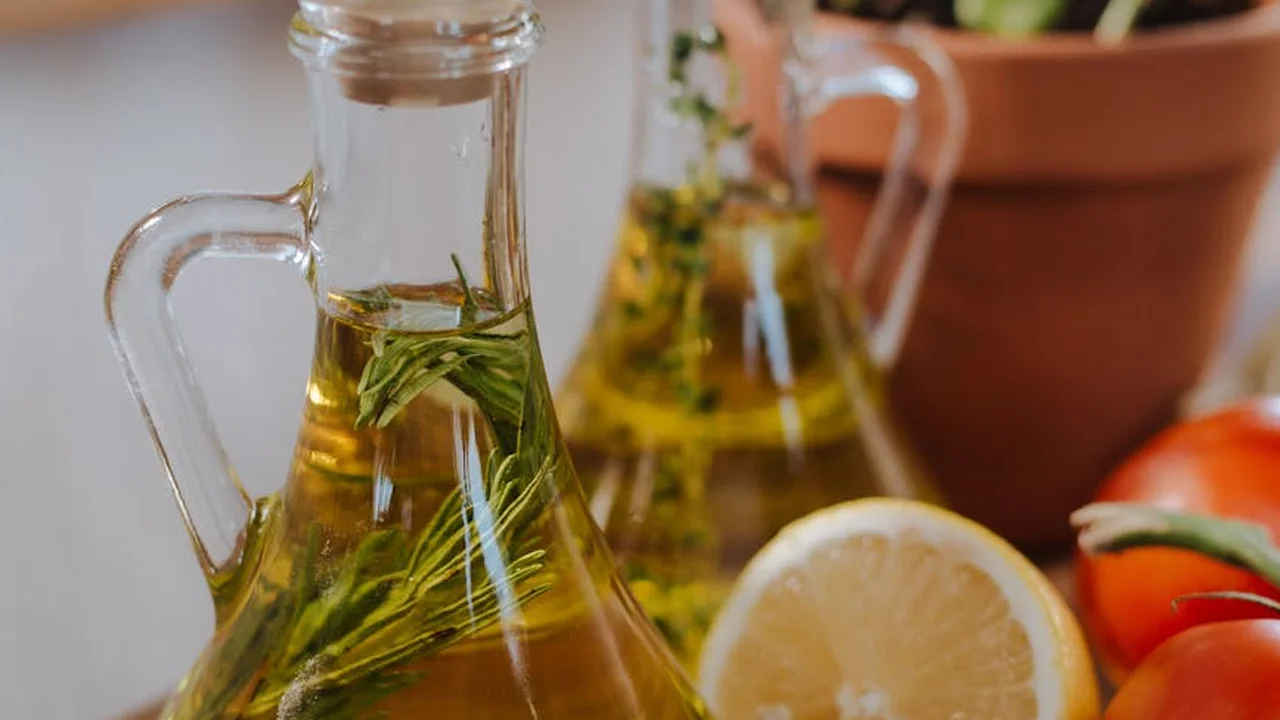
Not all oils behave the same on wood. Kitchen oils, like olive or coconut, are mostly fat. Body and carrier oils, like the sweet almond or jojoba I use in my blends, are plant-based and can soak in deeply.
Pure essential oils are a special case. They are powerful plant compounds that can act as solvents. If your spill is from a DIY mix, like a massage oil, you are dealing with both a carrier oil and an essential oil. That means you might need a two-step approach.
What’s Your Wood’s Finish?
The finish is your wood’s protective coat. To check it, sprinkle a few drops of water on an unseen spot. If the water beads up, you have a sealed surface (like polyurethane or varnish). If it soaks in and darkens the wood, the finish is likely oil-based or the wood is porous.
Knowing this changes everything. The method for how to clean oil finished wood floors is not the same as cleaning a sealed dining table. Strong cleaners or water can damage an oil finish, while a sealed top can handle a gentler, soapier solution.
The Golden Rule: Spot Test Everything
Always, always test your cleaning paste or solution first. Find a hidden spot: under a chair leg, inside a drawer, on the back of a furniture leg.
Apply a small amount of your cleaner, wait ten minutes, then wipe it off. Check for any cloudiness, discoloration, or texture change. This simple step prevents a small stain from becoming a huge repair project. It is non-negotiable.
How to Remove Oil Stains from Wood (By Oil Type)
Fresh Cooking Oil or Grease Spills
Act fast. Blot up every bit of the slick liquid you can. Then, immediately cover the area with a generous layer of cornstarch or baking soda. This powder will start to absorb the oil from the surface.
Let it sit for at least 15 minutes, or until it looks clumpy and greasy. Vacuum it up completely.
For any remaining residue, make a gentle degreasing paste. Mix a drop of mild dish soap with a teaspoon of warm water. Dampen a soft cloth with the solution, wring it out tightly, and gently wipe the area. Follow immediately with a cloth dampened with plain water to rinse, then dry thoroughly. This blot, sprinkle, and gentle soap method is the core answer for how to clean cooking oil off floor surfaces and sealed tables.
Dried-On Body or Carrier Oil Stains
Plant-based oils like sweet almond or jojoba can slowly oxidize. They leave behind a darkened patch that feels a bit sticky or waxy. For this, you need a gentle abrasive to lift the residue.
Make a thick paste with just baking soda and a little water. Spread it over the stain in a layer about as thick as a coin. Let it sit and work for several hours, or even overnight. The baking soda will draw the oil up and dry into a crust. This method is especially useful for vegetable oil and diesel oil stains on various surfaces.
Wipe the paste away with a dry cloth. If a faint shadow remains, you can try cutting through the last of the oil with a solution of one part white vinegar to two parts water on a damp cloth. Rinse and dry the wood well after.
Essential Oil Spills and “Hot Oil” Blends
This is the most urgent spill. Pure essential oils like lemon, peppermint, or eucalyptus are potent. They can dissolve certain wood finishes and sealants on contact, leaving a white, cloudy mark.
Blot instantly. Do not rub. Then, smother the area with a baking soda paste. The baking soda does two jobs: it helps pull the oil up and neutralizes the intense scent. Let the paste sit for an hour before brushing it away.
I keep a small jar of baking soda right on the shelf with my essential oils for this exact reason. A quick reaction is your best defense.
When to Use the “Oil to Fight Oil” Method
For a stubborn, old stain on an unsealed or oil-finished piece, you can sometimes use a mild oil to soften a hardened one. Think of it like using a fresh solvent to break up a sticky, oxidized mess.
Use a light, odorless oil like mineral oil. Apply a tiny dab to the stain with a cloth, rub very gently, and let it sit for a minute. The fresh oil can help loosen the old stain so you can wipe both away. Immediately clean the area with a gentle soap solution to remove all oil residue, especially when dealing with cooking or olive oil stains.
This is a last-resort step before considering light sanding. It only works on unfinished or oil-finished wood, never on sealed surfaces.
Tackling Stains on Different Surfaces
How to Clean Oil Off Wood Floors
Safety comes first. A greasy spot on the floor is a slipping hazard, so act quickly.
I always grab cornstarch or baking soda from my pantry. Sprinkle a thick layer over the spill to absorb the oil and make the surface safe to walk on. If the spill lands on a carpet, the same approach helps with removing cooking oil stains from carpets. I’ll cover that carpet-specific step in the next section.
To clean oil from floor boards or concrete surfaces, let the powder sit for at least an hour. It will draw the oil up, turning clumpy and gray.
Vacuum the powder away. Now, to get oil off the floor without damage, use minimal moisture.
Dampen a cloth with just a few drops of mild soap in warm water. Wipe the area gently. Immediately dry the spot with a clean, absorbent towel to prevent any water from warping the wood.
Caring for Wood Tables and Furniture
Furniture has more personality and more problems. Curved legs, detailed carvings, and thin veneers can trap oil.
My method is gentle. For intricate areas, I dip a cotton swab into a cleaning paste. This lets me control the application perfectly on carvings and grooves.
Always wipe with the wood grain, not against it. This simple habit prevents you from grinding the oil deeper into the surface.
Remember, furniture finishes are often more delicate than floor sealants. Use a lighter touch and milder solutions to preserve the luster of your table or chair.
Special Case: Butcher Block and Cutting Boards
These are unique. We actively oil them to stay conditioned, but a big spill of cooking oil can still leave a dark patch.
For a food-safe clean, make a scrub. Mix equal parts baking soda and coarse salt with a few drops of water to form a gritty paste.
Scrub the paste into the stain using your fingers or a soft brush. The texture lifts the oil while the soda absorbs it. Rinse well and dry completely.
The wood will look thirsty and pale. This is your cue to re-season. Apply a generous coat of food-grade mineral oil, let it soak in overnight, and wipe off the excess. It brings the board back to life.
When NOT to Try This at Home (And What to Do Instead)
Limitations of DIY Stain Removal
Be honest with yourself. Very dark, old, or deep-set stains may only lighten. They might not vanish completely.
I’ve seen people reach for harsh chemicals. Please avoid ammonia or undiluted acetone. They will strip the finish, leaving a cloudy, damaged mess that’s worse than the stain.
For severe cases, sanding and refinishing the area might be the only true fix. This is a bigger commitment that requires careful skill to match the surrounding finish.
Calling in a Professional
Know when to call for help. For an antique dresser, a large floor area, or a prized furniture piece, a professional restorer is your best bet.
They have tools we don’t, like professional-grade sanders and spray systems. These allow for even application of new finishes and wood oil stain colors.
A specialist can assess the damage with an expert eye and often achieve results that DIY methods cannot. They protect your investment.
Restoring and Protecting Your Wood Afterwards
Getting the stain out is a huge win. The next steps make sure your wood stays healthy and beautiful, not just clean.
Gentle Cleaning After the Stain is Out
Any treatment you used-baking soda, dish soap, or another cleaner-can leave a faint residue. You need to clear that away.
Mix a small amount of a mild, pH-balanced wood soap with water. Dampen a clean, soft cloth (never soak it) and wipe the entire surface area, not just the spot. This removes any cleaning film and restores a consistent finish.
Dry the wood completely and immediately with a separate, absorbent towel. Letting water sit is how you trade an oil stain for a water ring.
To Condition or Not to Condition?
Think of your wood like skin. A good cleanse can strip natural oils. For wood finished with oil or wax, or pieces that look a bit dry, a conditioner puts nourishment back.
If your wood has a polyurethane or lacquer seal, it likely doesn’t need conditioning. For oiled walnut, teak, or untreated woods, I reach for a beeswax balm or a pure tung oil blend.
Apply a thin coat with a lint-free cloth, let it soak in for 15 minutes, then buff off any excess. It brings back a gentle luster and strengthens the wood’s defenses.
A quick note I get asked often: wood oil stains for furniture are colored products meant to change its tone, while conditioning oils are clear treatments that feed the wood without altering its color dramatically. You’re nourishing, not painting.
Prevention is the Best Care
A little foresight saves a lot of scrubbing later. Your wooden surfaces will thank you.
- Always use coasters under drinking glasses and cups. For oily bottles and DIY projects, place them on a small tray or a dedicated cloth.
- Dust regularly with a microfiber cloth. Dust particles are abrasive and can wear down the protective finish over time.
- A simple weekly wipe with that pH-balanced wood soap solution keeps a gentle, protective barrier intact.
I keep a small ceramic tray on my desk for my roll-on blends. It’s saved my desktop from stray drops more than once.
Your Wood Stain Questions, Answered
What’s the difference between a wood oil stain and a conditioning oil?
Wood oil stains contain pigments or dyes to color the wood, while conditioning oils (like jojoba or tung oil) are clear treatments that nourish and protect without significantly altering the color. Think of stain as makeup and conditioning oil as skincare for your wood.
Where can I find trusted wood oil stains, like at B&Q?
Major retailers like B&Q carry a range of stains; always look for plant-based or low-VOC options for better indoor air quality. Read the label carefully to ensure the product is appropriate for your specific project, whether it’s furniture, cabinets, or floors.
How do I choose a wood oil stain color for my oak cabinets or furniture?
Test, test, test! Always apply a sample to an inconspicuous area or a spare piece of wood, as the final color depends on the wood’s original tone and grain. Oak can pull very warm, so a “neutral” stain may look more golden than expected.
I’m using a spray gun for stain. What tip size should I use?
For most oil-based stains, a tip size between 1.3 mm and 1.8 mm is common, but you must consult your specific product’s technical data sheet for the manufacturer’s recommendation. Using the wrong tip can lead to uneven application and wasted product.
Can I use the same stain on my floors, cabinets, and furniture?
You can, but you shouldn’t without considering wear; floors need a durable, hard-wearing stain formula, while furniture and cabinets allow for more finish and sheen versatility. Always match the product to the surface’s traffic and use for a lasting result.
Caring for Your Wooden Sanctuary
When a precious oil spills, remember that a swift, gentle response is your most reliable remedy. Blotting immediately with a soft cloth and using mild, plant-friendly cleaners preserves the wood’s natural beauty and your peace of mind. For wooden and bamboo cutting boards, regular oiling is often recommended to maintain their surface. We’ll cover the best method and how often to oil.
I share these methods from my own home apothecary to help you care for your space with confidence. Trust your hands and your intuition as you blend wellness for your home with care for yourself.
Industry References
- r/howto on Reddit: How to remove oil from a wooden table? Stained from leaking olive oil left on the table too long.
- How to Get Oil out of Wood: Remove Fresh & Old Stains
- exterior – How can I remove an oily stain from raw wood before painting? – Home Improvement Stack Exchange
- How to Remove Oil Stains from Wood: 5 Quick Ways for Fresh & Old Stain – Lumber Grand
Noemi Kamińska
Noemi is an accomplished wellness researcher, nutrition care guide and body care expert. She has years of experience in formulating various oil combinations for full body wellness including face, hair, body care, essential oils and cooking oils. She works as a bio-formulator working with oil chemistry and analyzing the best formulations when it comes to your needs. Feel free to reach out to get your oil needs sorted.